


In one of my previous articles, I discussed 'How to set up a Python environment and write a “Hello world” program'. I will be focusing on how to create a chatbot using python in this article.
What is a chatbot? A chatbot is an artificial intelligence (AI) software that can simulate humans and computers. It converses or chats with users in a natural language through messaging applications such as a mobile app, websites and telephone.
How does it work?
I. The chatbot gets a user request and tries to identify the user intent and to extract entities.
II. Once the user intent is identified, the chatbot provides an accurate response to the user. However, the response may be in the below categories.
• A contextualised portion of the information • The result of a reaction that the chatbot requires to achieve an interacting interface with one or more backend application Once the context is retrieved, it acknowledges a different output with all the available data stored to give the user adequate response.
Why is it important?
The chatbot is important because it enhances customer experience. It helps to simplify interactions between the clients and services. It also reduces the workload.
Let’s proceed on creating our first chatbot using python.
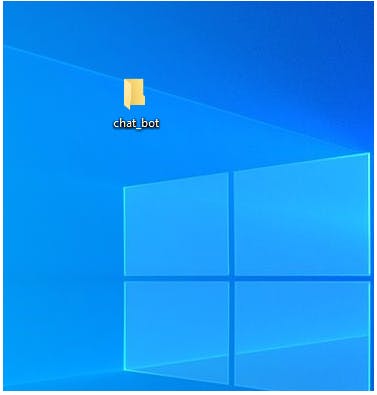
- The first step is to create a folder on your system and name it 'chat_bot'. You can save the folder in your preferred location, e.g. your Desktop.
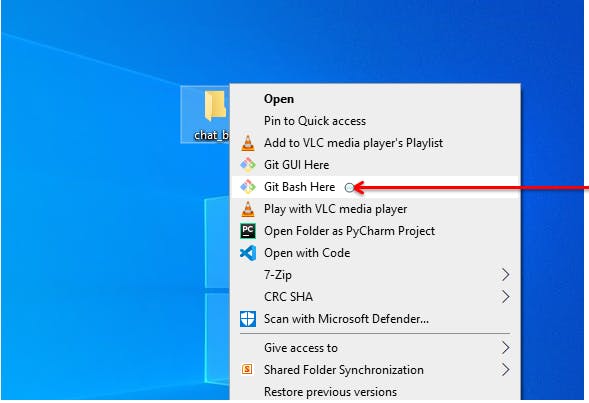
- Right click on the ‘chat_bot’ folder, and then click on ‘Git Bash Here’ to open the terminal.
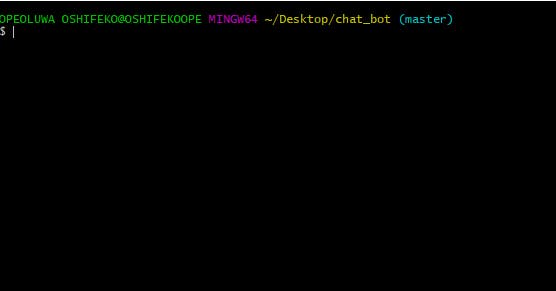
- After clicking on ‘Git Bash Here’, you should get the response below:
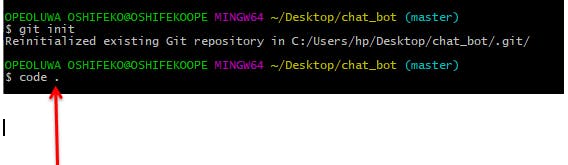
- Type ‘git init’ then press ‘Enter’, you should get the response below:
- Now that the chat_bot has been initiated, as shown above, type ‘code .’ (Note the space before the period (.) sign inside the git repository. This command automatically opens VSCode on your system. (VSCode can be downloaded from Google if you do not have it installed).
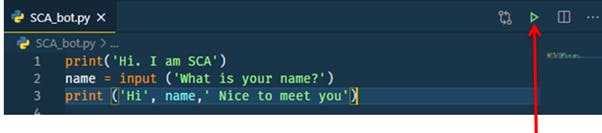
- Once opened, go ahead to create a new file and don’t forget to add the extension e.g. SCA_bot.py
- Initiate a welcome message. For example, (‘Hi. I am SCA’). Once you are done, click on the green icon to run your code as shown on the picture below.
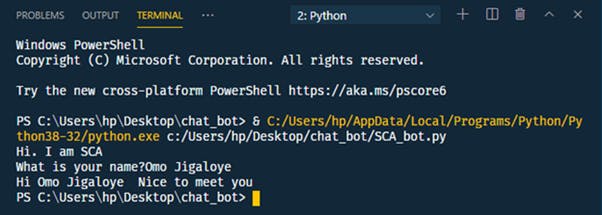
- The response should be as shown below:
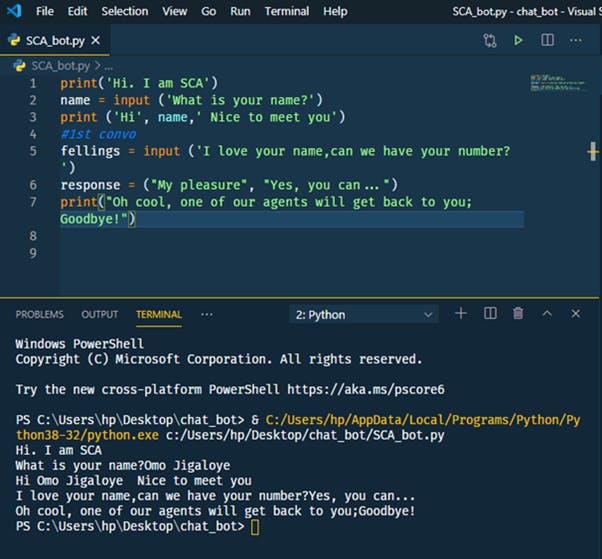
- You can add more text of your choice, see sample in the image below for input and output:


 I will appreciate your feedback in the comment box.
See you at the top!